Tuesday, December 14, 2010

Merry [home] Making Day 2: Christmas Goodie Box

Welcome to Day 2 of Merry [home] Making!  I hope you enjoyed my little yarn ball snow man yesterday.  I'm having a lot of fun with this week!


There will be a good range of projects this week, so don't worry if yesterday's was a bit much!  It was the most indepth one I'm doing this week.  Don't sweat!


Today's project is a cute way to package your Christmas goodies for friends and family.


I have loved these little chinese take-out boxes ever since they became available in craft stores.  They are so much fun to decorate!  Here's a fun and easy way to deck one out for Christmas with some fun rubber stamps :-)


Cast of Characters:


♥Chinese Take-Out box (Available at Michaels for $1.29)


♥Rubber stamps


♥White Pigment Ink Stamp Pad


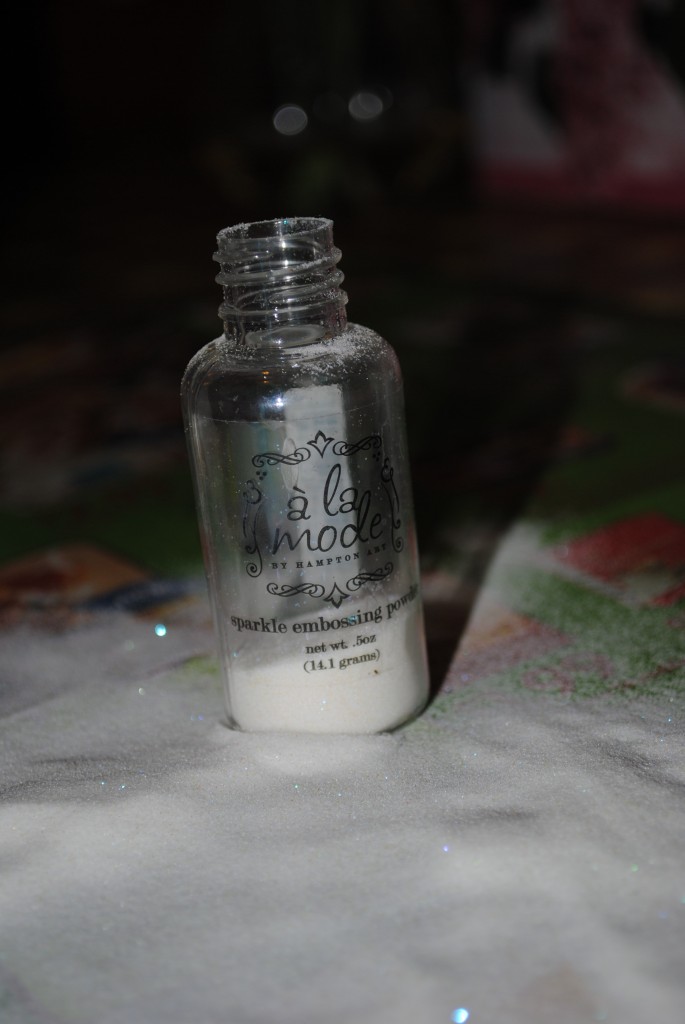
♥Sparkly Embossing Powder


♥Embossing Heat Tool
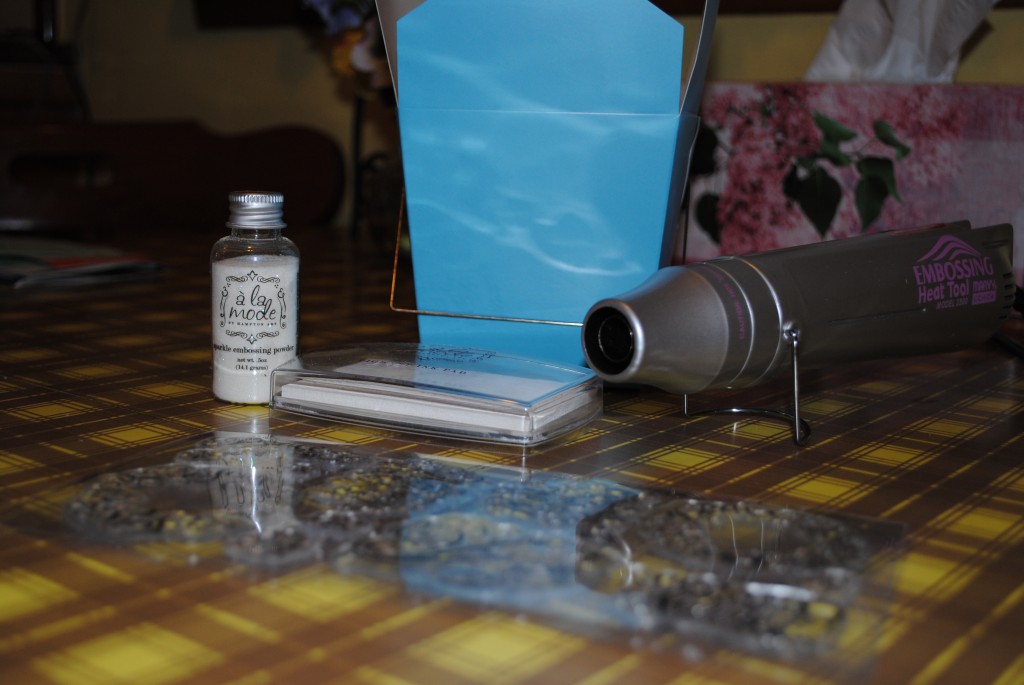


If you haven't done rubber stamping before, pay special care to the kind of stamp pad you buy.  Not all are alike!  You will need a pigment ink pad, which has a special tackiness to it that helps the embossing powder stick to it.
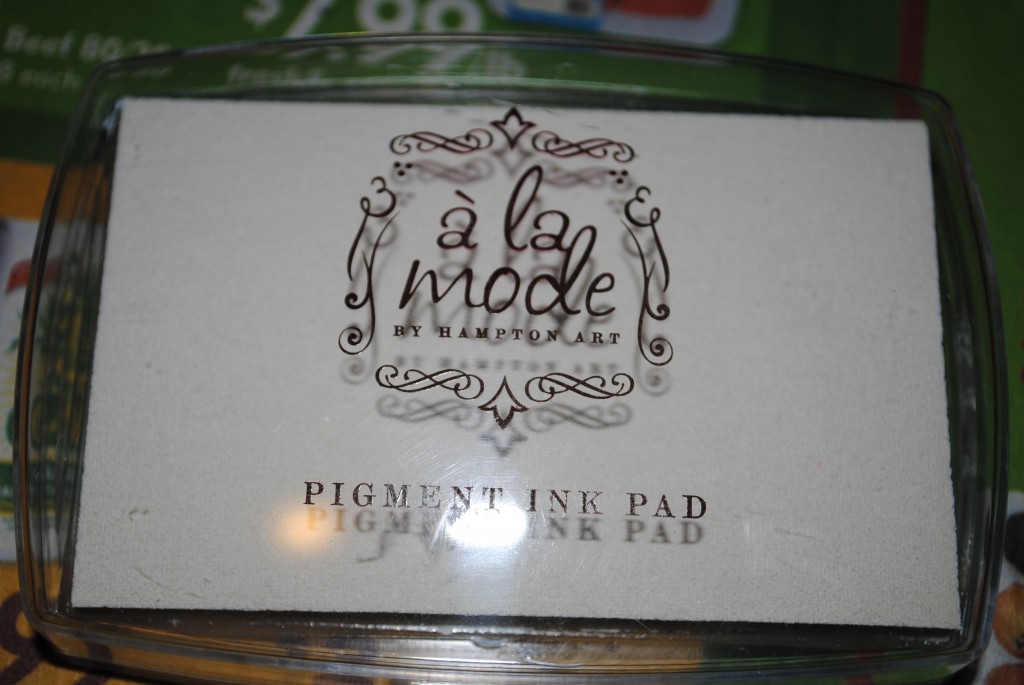


I'm not endorsing specific brands, but you can see the ones that I used.  Don't forget your Michael's coupons! (Or JoAnn's...I like them better since you can use more than one coupon at a time)


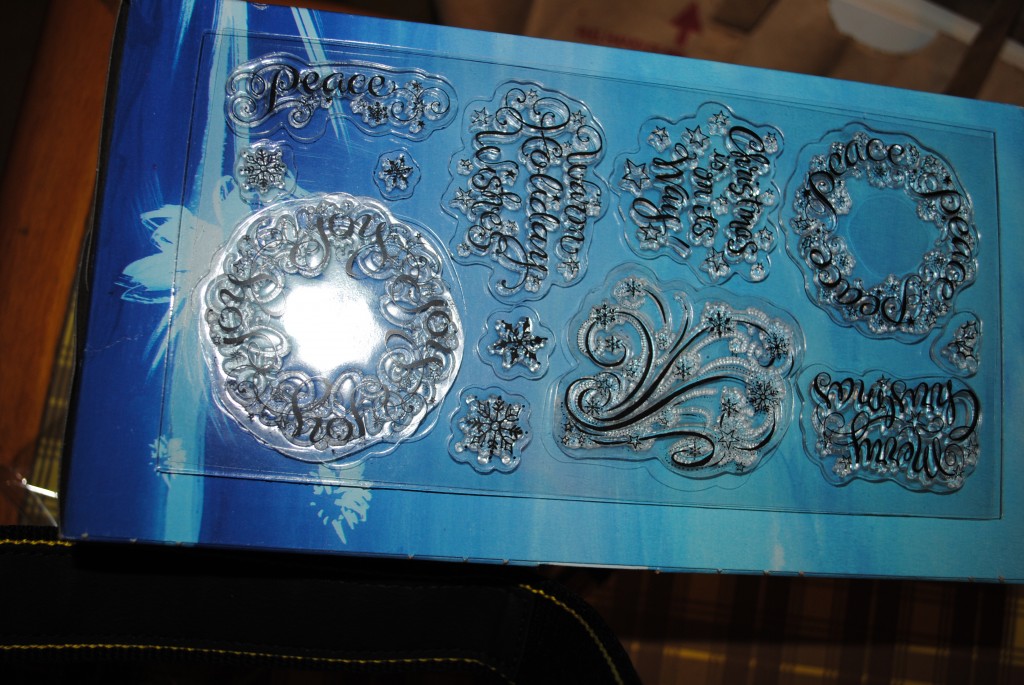
Pretty, whimsical winter stamps.


(These are the kind that you mount to a clear plastic block.  The traditional wooden-handled rubber stamps work just as well!)


Press your chosen winter stamp lightly into your pigment ink, and then press slowly and evenly onto your take-out box.


If you haven't embossed before, don't worry about being conservative with your embossing powder!  Dump in on there! 


I always keep my workspace covered with wax paper (or in tonight's case, the very classy store ads from today's mail!) so that I can pour the left over powder back into the container.  Unless you've mixed powders or spilled anything on your powder, it's completely reusable!
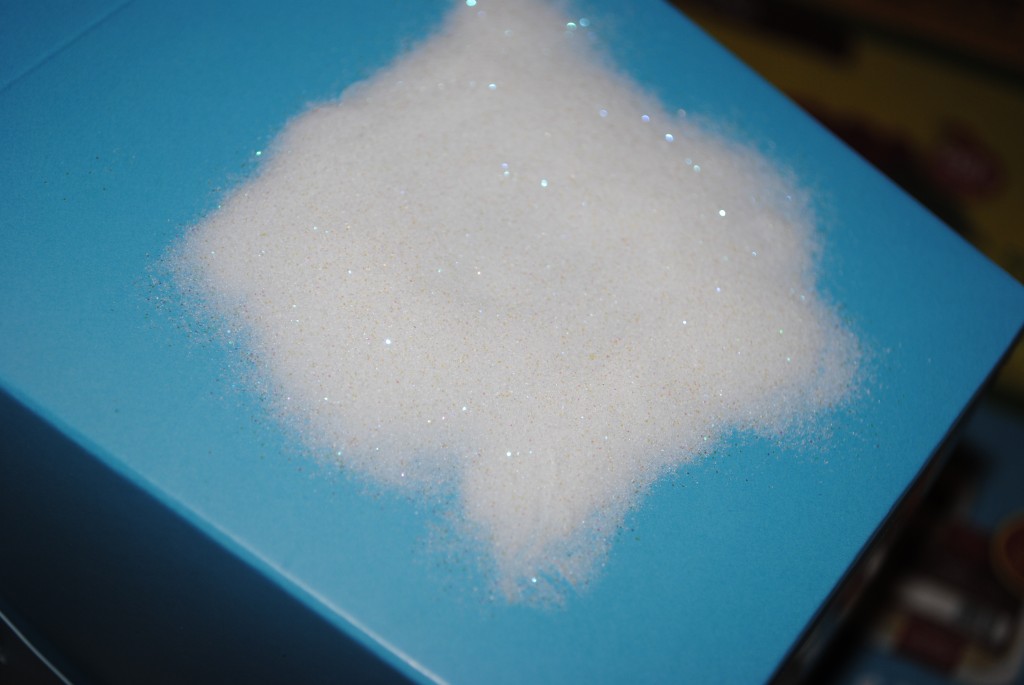


Gently shake off the excess powder.  Your project should now look something like this.


If you notice tiny bits of powder still stuck to the take-out box, simply blow it away lightly.  You don't want powder on random parts of your box, because once you heat the powder, you won't be able to get it off.
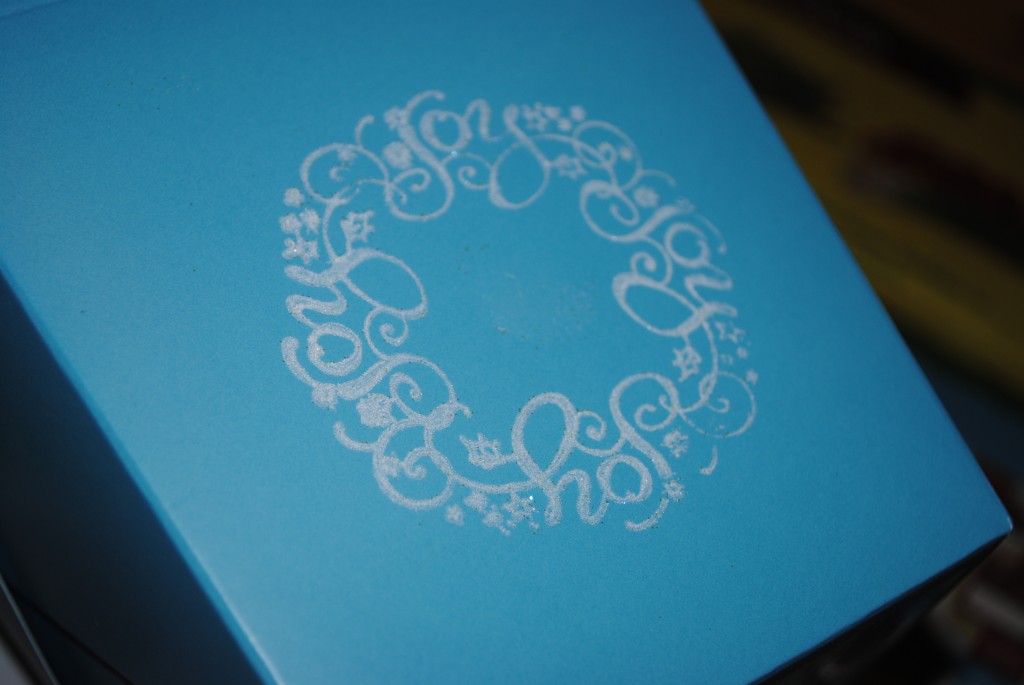


Now it's time to play with your heat tool! 


Don't have one?  Don't worry!  Neither did I...for 13 out of my 14 years as a rubber stamper.  Don't be horrified, but I found that holding my projects over a heated toaster worked just as well!
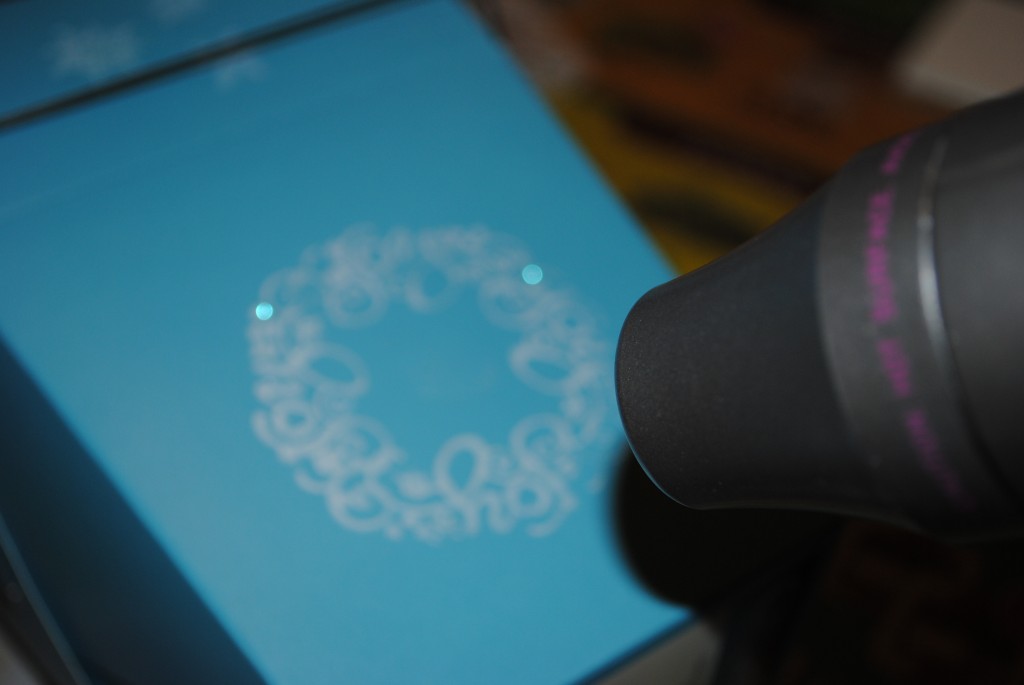


Once you've heated all of the powder until it's a smooth, glossy finish, you're finished!  Move on to another area to decorate it.
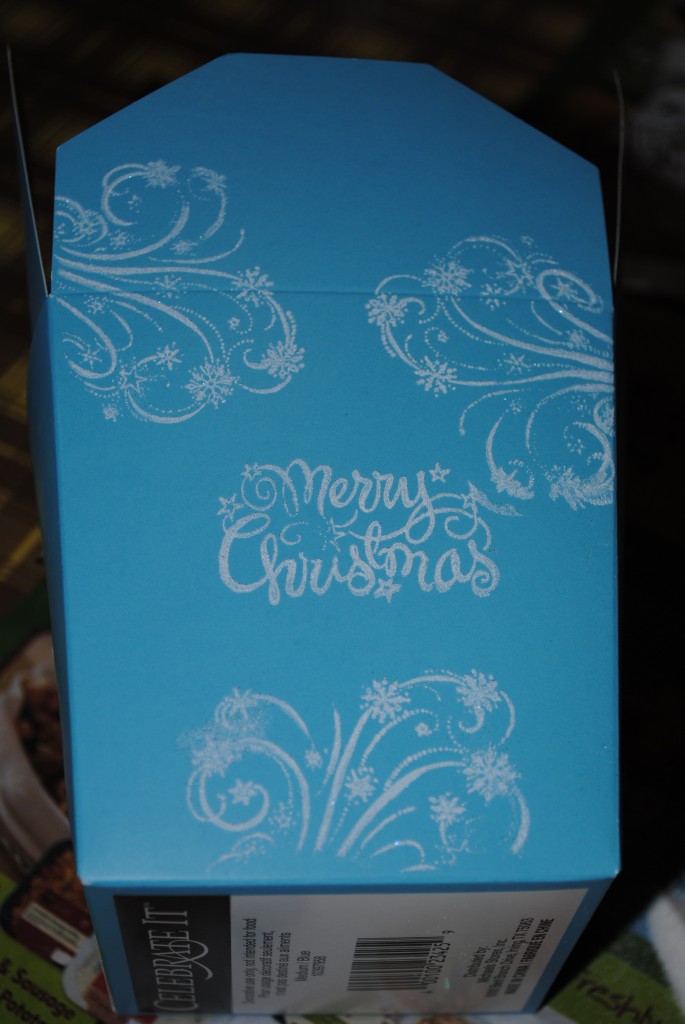


I overlapped so that my stamps ran over the top, too, to complete the look.
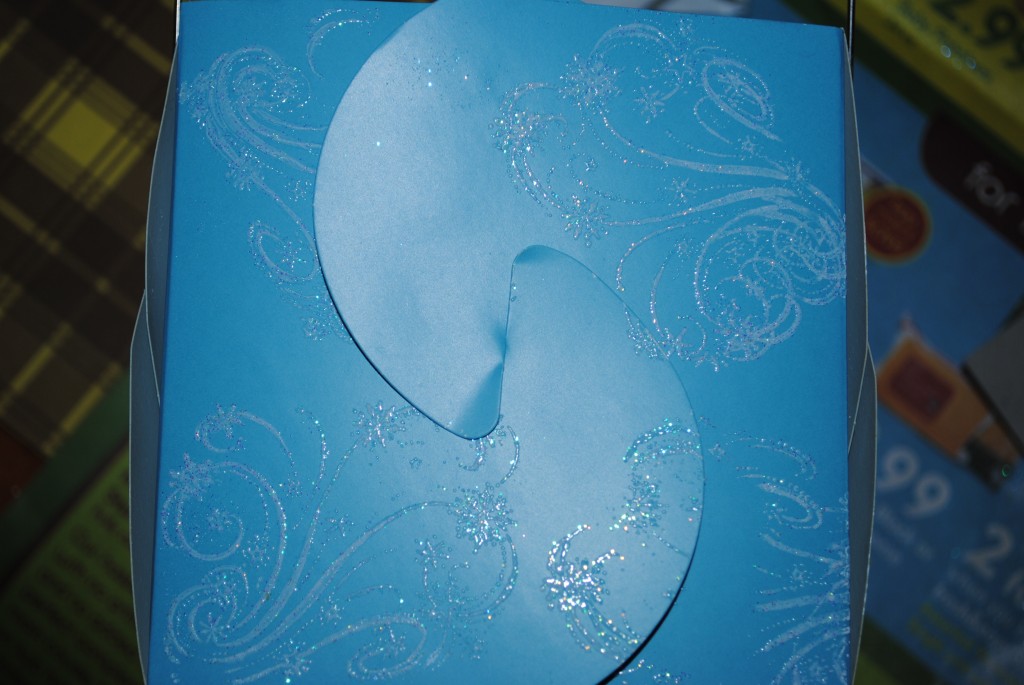


Add a pretty bow, and you're ready to go!
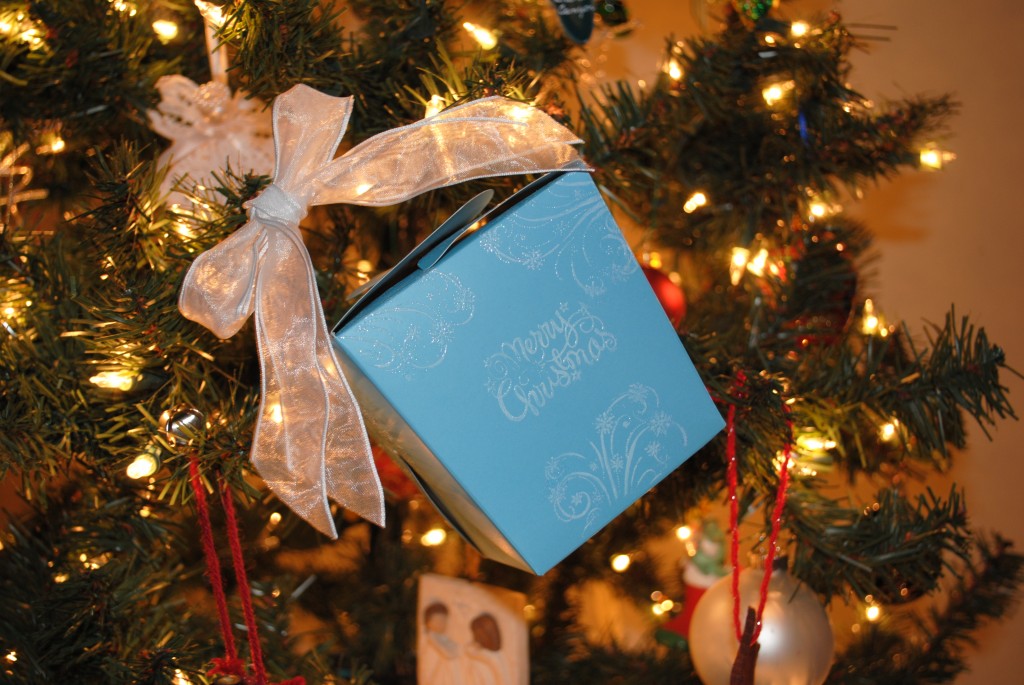

Line the inside of the take-out box with tissue paper or wax paper, and fill it with your favorite Christmas goodie.  I usually put chocolate covered pretzels or mini cookies. 


What's going in yours?


Monday, December 13, 2010

Sick...

My goodness.  Day two of my craft week and I'm already behind.  I promise that my second tutorial will be up this afternoon!

I had planned to do most of the tutorials on Sunday so that I could schedule each one to post at 6am on its day, but I caught a really bad cold Saturday night and have spent the majority of the last few days sleeping.

Not to mention, we've been house-sitting for some friends, and I managed to bring something for each of my crafts, but not everything.  I forgot the embroidery floss for this one, the fabric for that one, the puffy paint for another...I'm  a mess!

I'm going back to work today, and after that, I'm headed straight to our little yellow house to craft up a storm.  I enjoy helping people out by house-sitting for them, but I get SO homesick myself! 

There's no place like home...there's no place like home...there's no place like home...

See you this afternoon for part two of Merry [home] Making!

Sunday, December 12, 2010

Merry [home] Making Day 1: Yarn Ball Snowman

Welcome to my week of Christmas Craft Tutorials!  It's my very first, and I'm so excited to share it with you!


Today, I want to show you how to make this adorable yarn ball snowman.  As a lover of all things yarn, I was itching to find a way to incorporate some of the stringy fun into my Christmas celebrations.

It's surprisingly simple, and a wonderful gift for your family and friends!


Cast of Characters:


♥ 3 styrofoam balls, graduating sizes (I used 2'', 2.5'', and 3'')

♥ yarn (I used Red Heart Holiday because I liked that it was a cream color instead of pure white--for my country snowman--and I loved the subtle sparkles.)

♥ black felt

♥ black fabric paint

♥ hot glue gun

♥ orange Fimo clay (any clay that bakes to harden)

♥ buttons

♥ sewing needle and colorful thread (I used green)

♥ blush

♥Q-tips


Step One: Build Your Snowman


Use a sharp knife to level off the bottom of the smallest ball, and the top and bottom of the medium and large balls.

Use the hot glue gun to secure the three balls together.


Step 2: Wrap the body with yarn


Secure the yarn at the base of the snowman using hot glue.  Wrap around the balls to look like actual balls of yarn.  Messy and haphazard is fine--it adds to the country charm!

Make sure that you tack down the yarn every once in a while.  You want it to be secure so that it doesn't unravel in the future.


Wrapped up and ready for the next step!


Step 3: Make the felt hat


Cut a large circle out of black felt.  It's diameter should be about 1.5 inches bigger than the diameter of your smallest styrofoam ball.  Out of the center of your black felt circle, cut another circle, leaving about 3/4ths of an inch all the way around the large circle.  Measure a rectangle that is wide enough to go all the way around your smaller circle, and about as tall as your snowman's head.


To sew the hat, set the circle on top of the rectangle and use a blanket stitch to sew them together.


Remember, if sewing isn't your thing, you can easily glue this hat together and not have to worry about it!


Attach a cute button to the hat, glue three more buttons to the middle ball, and glue the hat to your snowman's head.

(For buttons with holes, I used the green thread and went in and out of the holes a few times to give it a sewn-on look)


Step 4: Decorate the snowman's face


Pinch off a small amount of orange Fimo clay and roll it to make a cone.

Place it on a baking sheet and bake it according to the instructions on the wrapper.


Use your black fabric paint to add coal eyes and a smile.

Test your paint out on a napkin or something first to make sure you get all of the air bubbles out before you aim it at your snowman!  Also, remember that fabric paint takes several hours to dry, so be careful not to touch it.

Take a Q-tip, swab it around in your blush, and lightly brush his cheeks to give your snowman a warm glow.


You're all finished!  Now, wasn't that easy?  :-)


As with all of my craft tutorials, the inspiration for this Yarnball Snowman was entirely mine, and I ask that you not sell any of the ideas you get from this website. 

I would love to hear that your family and friends loved receiving these as gifts!


Pin It

"I think you might be a kindred spirit after all."

I stayed home from church sick today.


I felt poorly last night, but when I woke up, my sore throat, headache, and all over body ache let me know I wouldn't be doing anything I had planned on today.


Sickness can't be too horrible, though, when you get to crochet on the couch all day  and watch an old favorite movie.


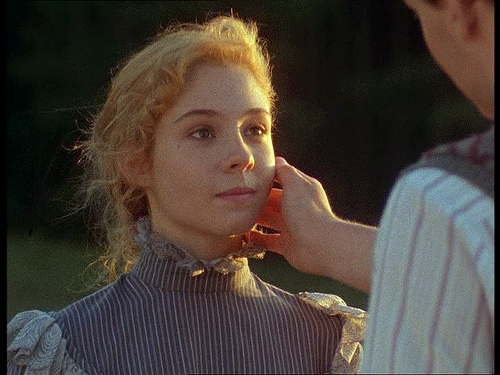
For me, that's Anne of Green Gables.


When I was a little girl, my best friend Em's family owned Anne of Green Gables, and every time I got sick, either her mom or my mom would make the 5 block trek to borrow it for me.  We did that for about ten years before they moved to San Diego.  Ever since then, I just had to tough it without Anne.


Our first married Christmas, though, the complete set of Anne of Green Gables was sitting under our tree, with a love note from my husband.  He had never seen the movies before.  Apparently, I talked about them enough!


For me, it wasn't just the movie.  Mom gave the the complete series when I was 8.  I read straight through them, and have gone back and read each one at least three times since.  Yes, I have my favorites, and I've read them many more times.  There's just something about L.M. Montgomery's writing.  It makes me think that I belong on Prince Edward Island.


Jesse is off at our 12 hour Sunday at church without me.  I'm thankful for this time to rest.  Tomorrow will be pretty difficult if I'm not feeling better.  But I'm glad that I got a day to relax with my hot tea, my slew of gifts to crochet, and, really, an old friend.


Saturday, December 11, 2010

December Photo Project 12/11

The December Photo Project is sponsored by Rebecca from View From The Prairie Box


Jesse and I went to Paul and Brandi's wedding today.


What a special day!


This love story has waited five and a half years for the beginning of its happily ever after.


I've never met two more patient, loving, respectful, and strong people.


They deserve every ounce of happiness.  We are so happy for them!


Brandi planned the entire wedding and all of the details herself.  I'm planning on doing a DIY Bride post in January to show you her beautiful Library Themed Wedding and have her share some tips with you!  (Maaaaybe February--I'll let her settle into her new life as a wife and Special Ed teacher in Seattle first!)


 Jesse and I took about 400 pics today, so be sure that it will be a gorgeous, picture-full post!

Thursday, December 9, 2010

December Photo Project 12/10

The December Photo Project is sponsored by Rebecca at View from the Prairie Box

Maybe you've seen my funny little plaid table in some of my pictures and wondered "Where on earth did Bethany find a table like that?!?"

And my answer to you is that is was here when we moved in.

We're renting from friends, and very blessed to do so.  When we moved in, the house was nearly completely furnished.  There was a dining room set, complete with a beautiful table and 8 chairs, a coffee table, two side tables, an organ (yes!), and this funny little plaid table.


I've always loved the idea of yellow kitchens.  When Papa and Ami lived in Ontario, Ami's kitchen was yellow, and I loved how bright and cheery it was with its eyelet curtains blowing in the breeze.  I was so excited to see this little yellow kitchen the first time we walked into the house! Dorothy, the woman who lived here before we moved in, must have loved yellow.   The kitchen walls and ceiling are yellow, there's yellow linoleum on the floor, the kitchen counter is yellow...and Dorothy had made the most darling cream curtains with yellow stitches (they were pretty much deteriorated when we moved in, hence my Bethany-made eyelet lace curtains!)

I don't even know where someone would find a plaid-topped table.  I'm assuming that Dorothy's husband, a talented craftsman himself, inlaid the table with plaid.  I don't really know the story.  But needless to say, when we moved in, the table stayed.  And I've loved it's funky little plaid ever since.

Wednesday, December 8, 2010

December Photo Project 12/9


The December Photo Project is hosted by Rebecca from View from the Prairie Box


Your mercies are new every morning;
   great is Your faithfulness. 
I say to myself, “The LORD is my portion;
   therefore I will wait for Him.

Lamentations 3:23